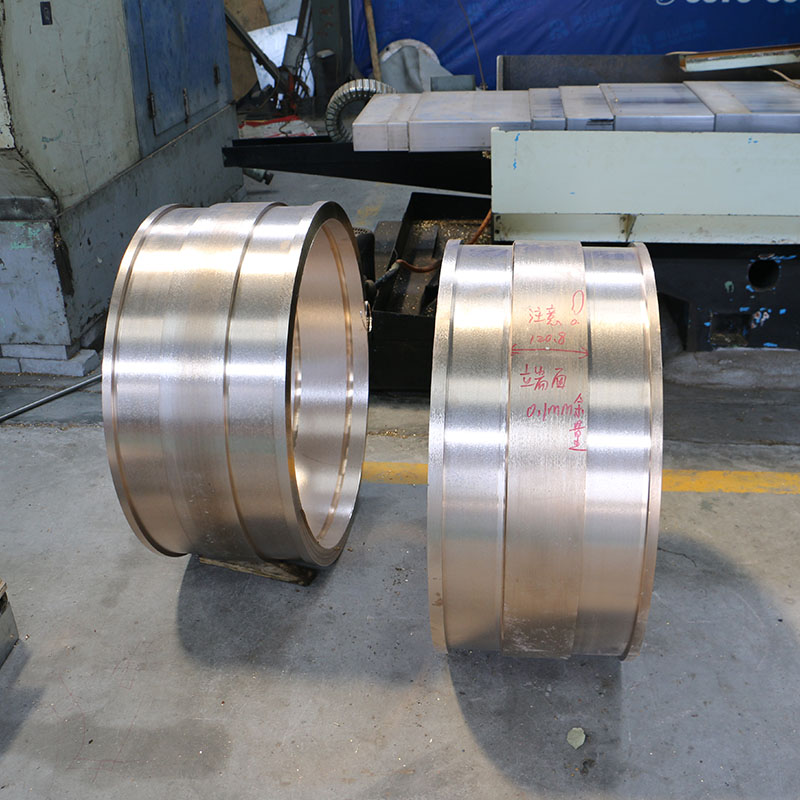
I. Purpose of bronze bushing flaw detection
1. Found defects: Bronze bushing in the production or use process may produce a variety of defects, such as pores, cracks, inclusions, etc. Flaw detection can effectively identify these defects and prevent them from affecting the performance of the bronze bushing and the normal operation of the equipment.
2. Improve safety: Defects in copper bushings may lead to equipment failure, which may lead to safety accidents. Flaw detection can prevent these potential risks and improve the safety of equipment and operators.
3. Quality assurance: Through the flaw detection of the copper bushing, it can be ensured that its quality meets the design requirements, so as to ensure the operating efficiency and reliability of the equipment.
II.Method of bronze bushing flaw detection
1. Ultrasonic detection: The principle of ultrasonic propagation in the copper bushing is used to identify internal defects by detecting the echo signal. Ultrasonic detection can efficiently detect the defects such as pores and cracks inside copper bushings, and has high sensitivity and resolution.
2. X-ray detection: The X-ray is used to penetrate the copper casing, and the defects such as pores and inclusions inside can be found by analyzing the image after X-ray penetration. X-ray inspection is suitable for detecting large or thick copper bushings, but the equipment cost is higher.
3. Magnetic particle detection: suitable for detecting surface or near-surface defects. By coating the surface of the copper jacket with magnetic powder, and then applying a magnetic field, the accumulation of magnetic powder at the defect can be observed, and cracks or surface defects can be found.

4. Penetration detection: Using the characteristics of penetrant to detect cracks on the surface of copper bushing. After coating the penetrant on the surface of the copper bushing, the developer can show surface cracks or defects. This method is mainly used to find surface defects.
5. Visual inspection: By observing the surface of the copper bushing with the naked eye or a magnifying glass, some obvious defects can be initially found, such as cracks, corrosion and so on. Visual inspection, while simple, has limited effectiveness in detecting small defects and internal defects.
III. Application scenarios of bronze bushing flaw detection
1. Mechanical equipment manufacturing: In the manufacturing process, the flaw detection of the copper bushing can ensure that each copper bushing produced meets the quality standards, so as to ensure the stability and reliability of the equipment.
2. Equipment maintenance: During the operation of the equipment, regular flaw detection of the copper bushing can find potential defects and problems, and timely maintenance and replacement can be carried out to prevent equipment failure.
3. Quality control: In the copper bushing procurement and inspection stage, flaw detection is an important step to ensure that the quality and performance of the material meet the requirements.
| Previous:Advantages of flanged copper bushing in aerospace applications | Next:Tin bronze bushing: Excellent processability and reliability |


 Copyright © 2022