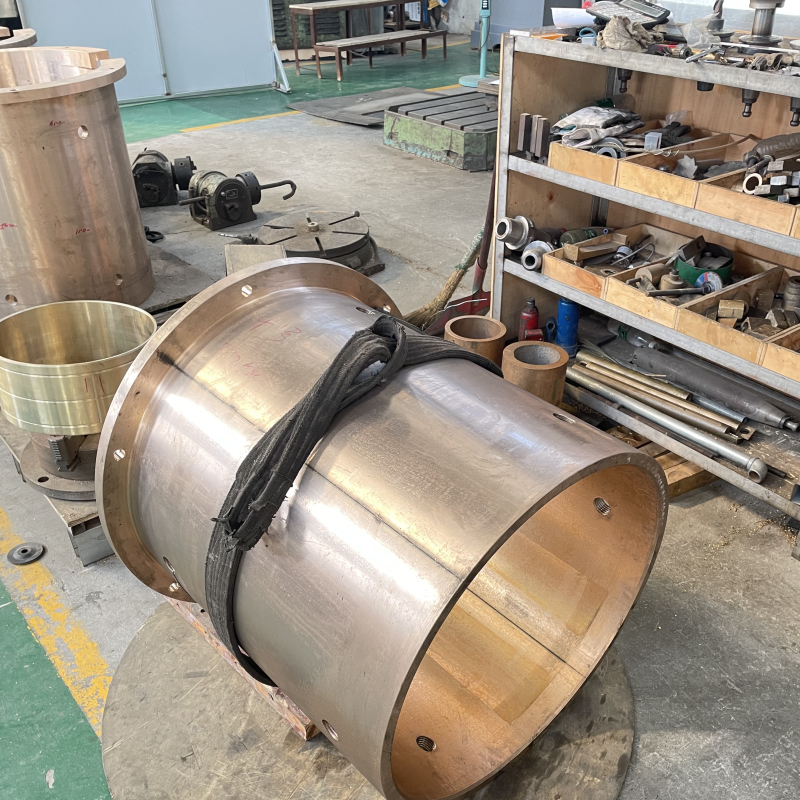
Coordinate inspection of copper bushings is a quality inspection method that uses a Coordinate Measuring Machine (CMM) to measure the geometric dimensions, shape, and positional accuracy of copper bushings with high precision. The CMM accurately measures all key dimensions and geometric characteristics of the copper bushing by moving the probe in three-dimensional space.
The main contents of CMM inspection include:
Geometric dimension measurement:
I.D. and O.D.: Measurement of the I.D. and O.D. dimensions of the copper bushing to ensure that it meets the design requirements.
Thickness: Measurement of the wall thickness of the bushing, especially in different sections to ensure uniformity.
Shape accuracy measurement:
Roundness: Measure the roundness of the inner and outer diameters of the copper bushing to assess whether the roundness is uniform and free from deviation.
Cylindricity: To check whether the cylindrical shape of the copper bushing is uniform in the length direction, avoiding conical or oval shape.

Positional accuracy measurement:
Coaxiality: Measure the coaxiality between the inner diameter and outer diameter of the copper bushing to ensure that the inner and outer rings are concentric during assembly.
Perpendicularity: Measure the perpendicularity of the end face of the copper bushing relative to the axis to ensure the balance and stability after assembly.
Parallelism: Measure the parallelism of the two end surfaces of the copper sleeve to ensure that the force is uniform in the process of use.
Surface Profile Measurement:
Shape profile: Scanning the surface of the bushing to obtain its actual shape profile and compare it with the design model to check whether there is any deviation or deformation.
Fit Measurement:
Bore-axis fit: Measure the actual clearance between the inner bore of the copper bushing and the mating shaft to ensure that the fit clearance or interference meets the design requirements.
| Previous:What are the advantages and disadvantages of copper and iron bushings? | Next:What are the advantages and disadvantages of Coordinate Measuring Machine (CMM) inspection of copper fittings? |


 Copyright © 2022